Acid Proof Tiles
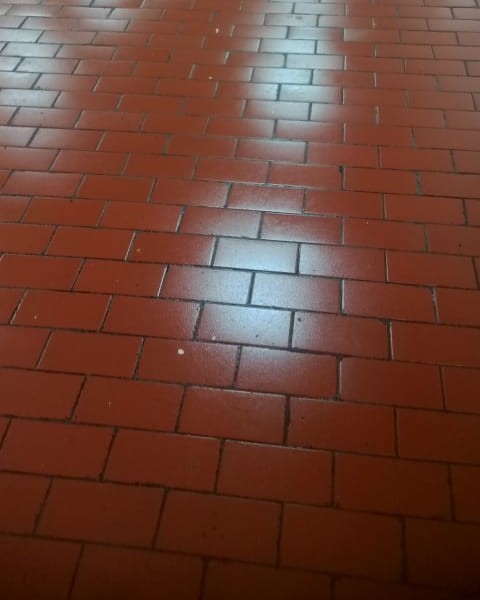
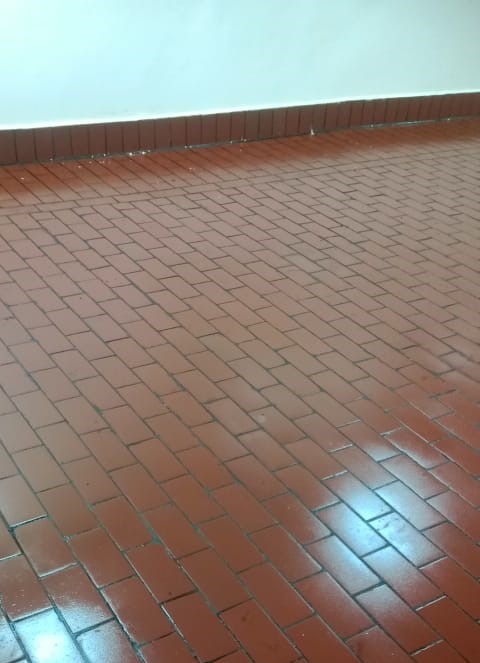
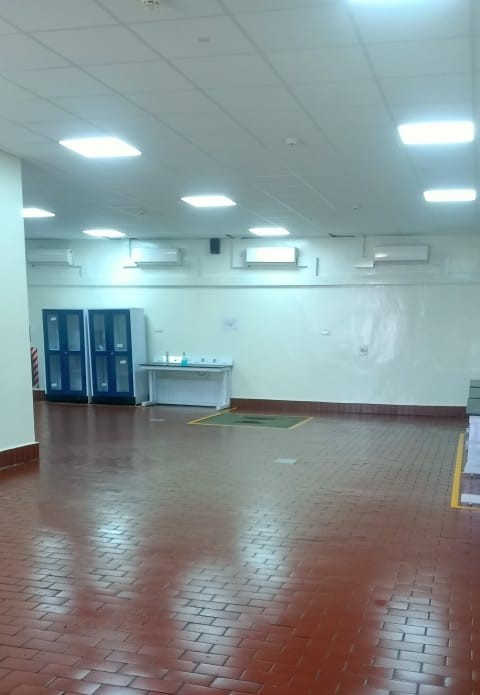
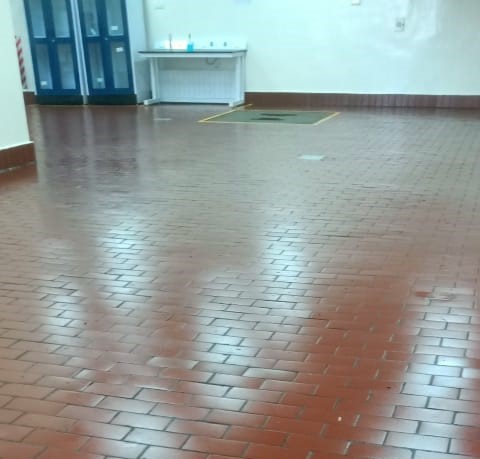
Acid Proof Tiles
Features of Our Acid Proof Brick Lining
⦁ High strength
⦁ Very excellent acid resistant and alkali resistant
⦁ Chemical resistance
⦁ High temperature resistance
⦁ Durability
⦁ Low cost Maintenance
Our acid proof brick lining provides excellent resistance against chemicals such as strong acids, alkalis, oils, solvents. Therefore, our linings are demanded in a number of industries, including:
⦁ Chemical& Fertilizer Industry
⦁ Food and beverage industry
⦁ Iron & Steel Industry
⦁ Petrochemical Industry
⦁ Oil & Gas Industry
⦁ Pulp & paper Industries
⦁ Thermal Power Industry
⦁ Battery Manufacturing Unit
⦁ Automobile Ancillary Unit
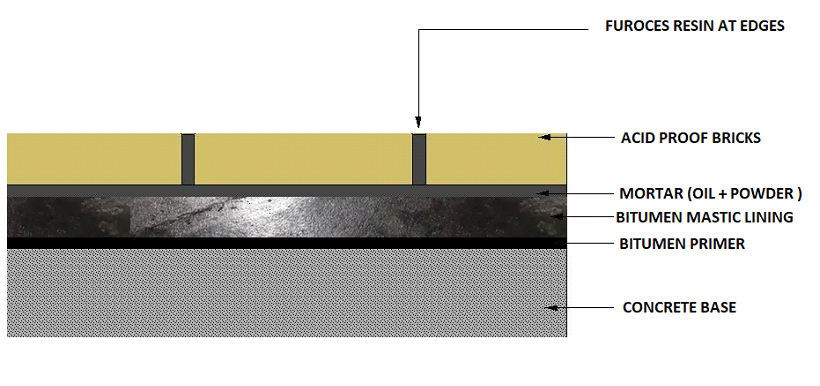
Stages of Acid Proof Lining Service
- Stage: Application of Bitumen Primer / Epoxy Coating
- Stage: Application of Bitumen Mastic. / Epoxy Plaster (Optional)
- Stage: Application of Acid Proof Mortar.
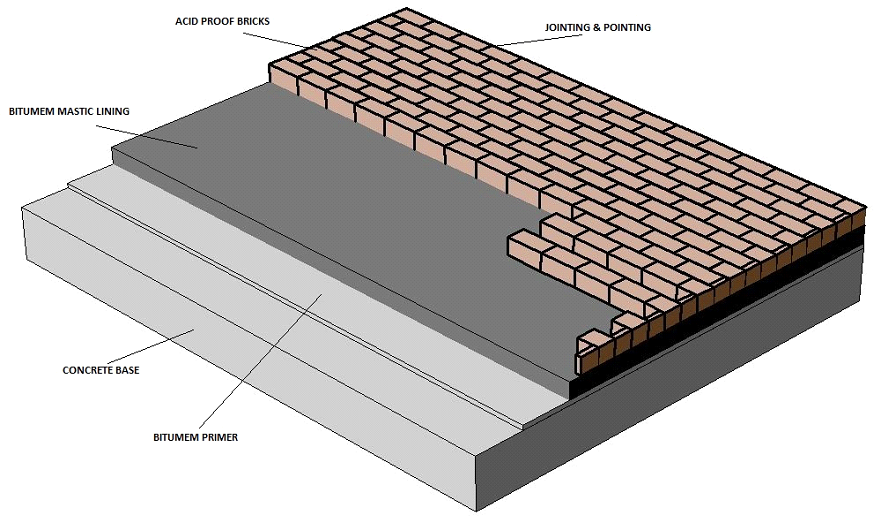
- Stage: Laying of Acid Proof Bricks / Tiles
- Stage: Pointing / Jointing
Procedure for Laying Acid Resistant:
1) Application of Bitumen Primer :-
In the stage 1st of work is cleaning of the platform, to remove any loose particles and to give it a rough finish, for application of acid proof primer.
After the concrete surface is inspected and found to be free from cracks and defects of any kind, Primers are applied as indicated above, either with brush or with spray. The primed surface is then allowed to dry until tack free, which under norm and conditions, will take approximately 4 to 8 hours depending upon the temperature at the site of application.
OR
1) Application of Epoxy Coating:-
After Preparation of Surface , Mix it in a container in the ratio of 1:2 (epoxy hardener 1:epoxy resin 2) and coat it on the concrete surface with a paint brush or roller. Epoxy coating is typically applied over concrete floors to provide a smooth, durable surface and increase the floor’s load-carrying capacity
2) Application of Bitumen Mastic. (Optional) :
Stage 2nd: Acid proof bitumen mastic, being a solid mass should be broken into fairly small pieces. It should be put into a tar boiler and heated up to a temperature of 125° C-150° C. The molten mass is then applied by pouring and smoothen Inger layer by trowelling on the horizontal surfaces. However, for vertical concrete or MS surface, application is carried out by a square trowel.
OR
2) Epoxy Plaster (Screeding) :-
After Epoxy Coating done do Epoxy Screeding – first take epoxy hardener and epoxy resin in the ratio 1:2 in a container and mix them. Then we will mix sand in it After preparation of Plaster material put on Concrete Surface with Patra .
3)Application of Acid Proof Mortar :
Stage 3th: Acid Proof Mortar is prepared by mixing one part by weight of the acid proof solution (Oil) with three parts by weight of acid proof powder.
4)Laying of Acid Proof Bricks / Tiles :
Acid Proof Mortar is then applied by buttering the edges of acid proof bricks/tiles and by placing them in a position, under squeezing action maintaining a gap of 3 -5 mm between bricks/tiles. Acid proof mortar should be laid in a manner that it forms a bed of 3-5 mm between the bricks and the mastic bed.
5) Pointing / Jointing
Stage 5th: The last stage is filling gaps between bricks/tiles by appointing/ grouting material. For better resistivity to the acid being stored, the gaps in between must be filled with either CNSL, Furan, or Epoxy.
Acid Resistant Flooring Procedure for Laying & Technical Specification
Acid Resistance – Mortar kg/ sqm
- ⦁ Acid Proof Primer - Quantity: 0. 5 Kg/Sqm
- ⦁ Acid Proof Epoxy Coating – Quantity: 0.750 Kg/Sqm
- ⦁ Acid Proof Mastic (Optional) - Quantity: 8-1 0 Kg/Sqm
- ⦁ Epoxy Screeding (Optional) – Quantity: 8-1 0 Kg/Sqm
- ⦁ Acid Proof Mortar - Quantity: 15 Kg/Sqm
- ⦁ Acid Proof Grouting Joint & Pointing (Only) - Quantity: 1 Kg/Sqm
Grouting / Pointing Mortar
- ⦁ CNSL
- ⦁ FURAN
- ⦁ EPOXY
- ⦁ Silicate
- ⦁ Phenolic
- ⦁ Sulphur